We got the trusses delivered today. We were lucky enough the delivery guy could use his crane to put our trusses up on our roof. He made a bit of a lazy error by standing under the pack when he was hoisting it over head from the truck to roof. We need to be careful around these packs to stay well clear as the strapping is unlikely to, but could break and fall on someone.
We needed to mark where the trusses would sit on the double top plate, so we had a running measurement going down the length of the house.
Once we had our trusses up we needed to get them all sitting aligned at the apex. We had one guy at the top checking this as we readjusted them with the sledge hammer and each side of the house. We then could start marking out where our purlins would go. We left the trusses strapped and marked off where the purlins would go along all the trusses, the max spacing for purlins are 750mm and the first purlin down from the apex we measure 150mm, the ridge capping gets fixed to these purlins.

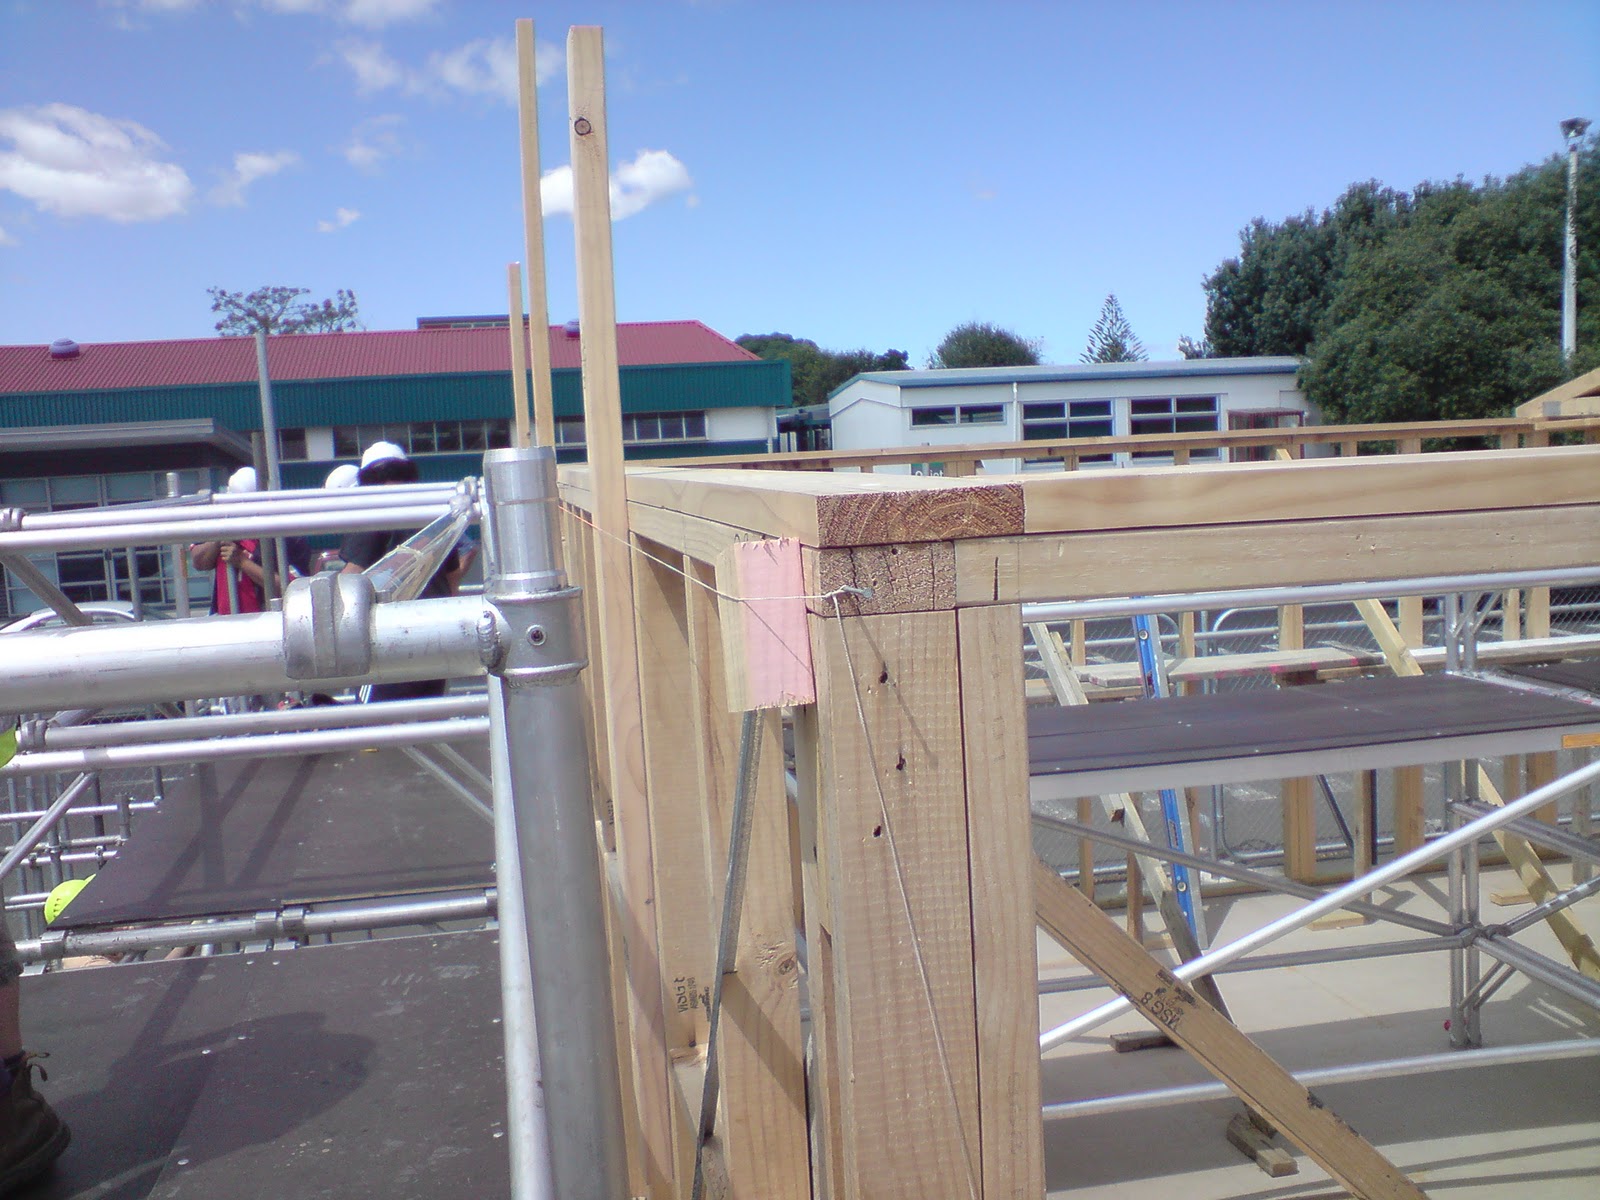
We needed three cleats at each gable end for the trusses to be slid along to, and helped support as we plumbed, braced and fixed them. We cut them so they would protrude over the trusses when they were fixed to the wall. To check the wall was still straight after we fixed the cleats we ran a string line with dodger blocks the thickness of the cleats.
We fixed the brace at the floor and adjusted the truss back and forth at the top till we got it plumb on the level.
As the trusses were bowed we needed to straighten them. At the gable end we straightened it by fixing one end straight and plumb, and then moving down the length of the truss clamping and fixing by skewing nails as we went, straightening it out.
Once the gable ends were done, we could start moving the intermediate trusses along to the marks we had done earlier on the double top plate.
We undid the strapping and released the first truss that was fixed to the one beside it with a nail.
On the back end of the house we walked the trusses down to their marks, one by one. Using a spacer we fixed the nogs alternately, one right below the nail plate on the trusses and the other below that one on the truss following. We also had a spacer at the bottom sitting on a ceiling batten so we had the same distance on the trusses, top and bottom.


At the other end of the house we had two mobile scaffolds down the centre of the lounge so one person could walk it down through the centre, and a person each side of the house could also walk the truss along on the exterior scaffold.
Once we had all the trusses standing we ran a string line down the apex to make sure the trusses were align at the apex and any that weren’t would get the sledge hammer treatment to knock it into place.
We have ceiling runners running the length of the house; we fixed the bottoms of the trusses to these once we had them plumb with the addition of the diagonal braces for extra support in the roof (three nails must go in the top and bottom of these braces).
Where we marked for our purlins we put bright nails just below to rest our purlins on till we’re ready to fix.

Here we have the purlins being run; we want the purlin to end on half the width of a truss, so we had a saw up with us to cut them back to this point.


The purlins needed two cyclone ties on each end of a truss connecting to the wall frame to prevent uplift and need to be fixed the right way round.
For the bottom purlin we used a square against the plumb cut of the truss which prevents the purlin getting in the way of the facier.
We needed strapping over the roof and for it to be fixed to the wall framing on the side and underneath the top plate. We chiselled out a channel for the strap to run on the exterior of the wall frame so it wouldn’t protrude and interfere with exterior cladding.
We had to make sure the strapping was straight and tight going up to the gable end truss. The strapping went over the trusses and under the perlins. We also had another strap going from a nog we fixed up at the apex down to and around the top plate at the end of the house. We also have two more straps to fit to the front end of the house.


Next we cut some packers to sit underneath the cantilevered purlins that will support our fly rafter at the back end of the house. We ran a string line with dodger blocks from the end of a packer at the length we require up to the apex and down to the other side. From here we can make sure all our packers are sticking out to the correct length for our fly rafter to be straight.


As part of the roof pack we got our timber to construct the outriggers on the front of the house. Any overhang of over 450mm needs an outrigger system.
To construct the outriggers we ran running measurements down the length of the outrigger. The first measurement was 150mm, which is where the first nog will sit up near the apex.Then 600mm thereafter until the end nog, which is only 10mm in from the plumb cut end at the bottom of the eve.


