We start by insulating the ceiling, running our Green Stuff adjacent to the ceiling battens between the trusses.
We have to make sure there are no gaps where heat could escape in the future. The ceiling insulation is thicker and has greater insulation than what we line the walls with.

It is important to make sure that the insulation is covering the entire space between studs and nogs as this is a check that is made on the inspection and holes and gaps will fail.
The insulation can tear easily in one direction, otherwise using a Stanley knife is best, using a straight edge to give a straight cut and compacting the Green stuff helps when cutting through.
We started the gib lining in the lounge area on the ceiling first.
The reason is that with starting in the lounge we can get some of the gib up and out of the way as there is a lot of area to cover.
There are two manufacturer edges, a straight edge and tapered edge.
We put the straight edges to the perimeter of the room, and the tapered edges to the joins with other boards. The taper slopes in so the gib stopper can come along afterwards, put a strip on the joint and plaster over for an even finish.
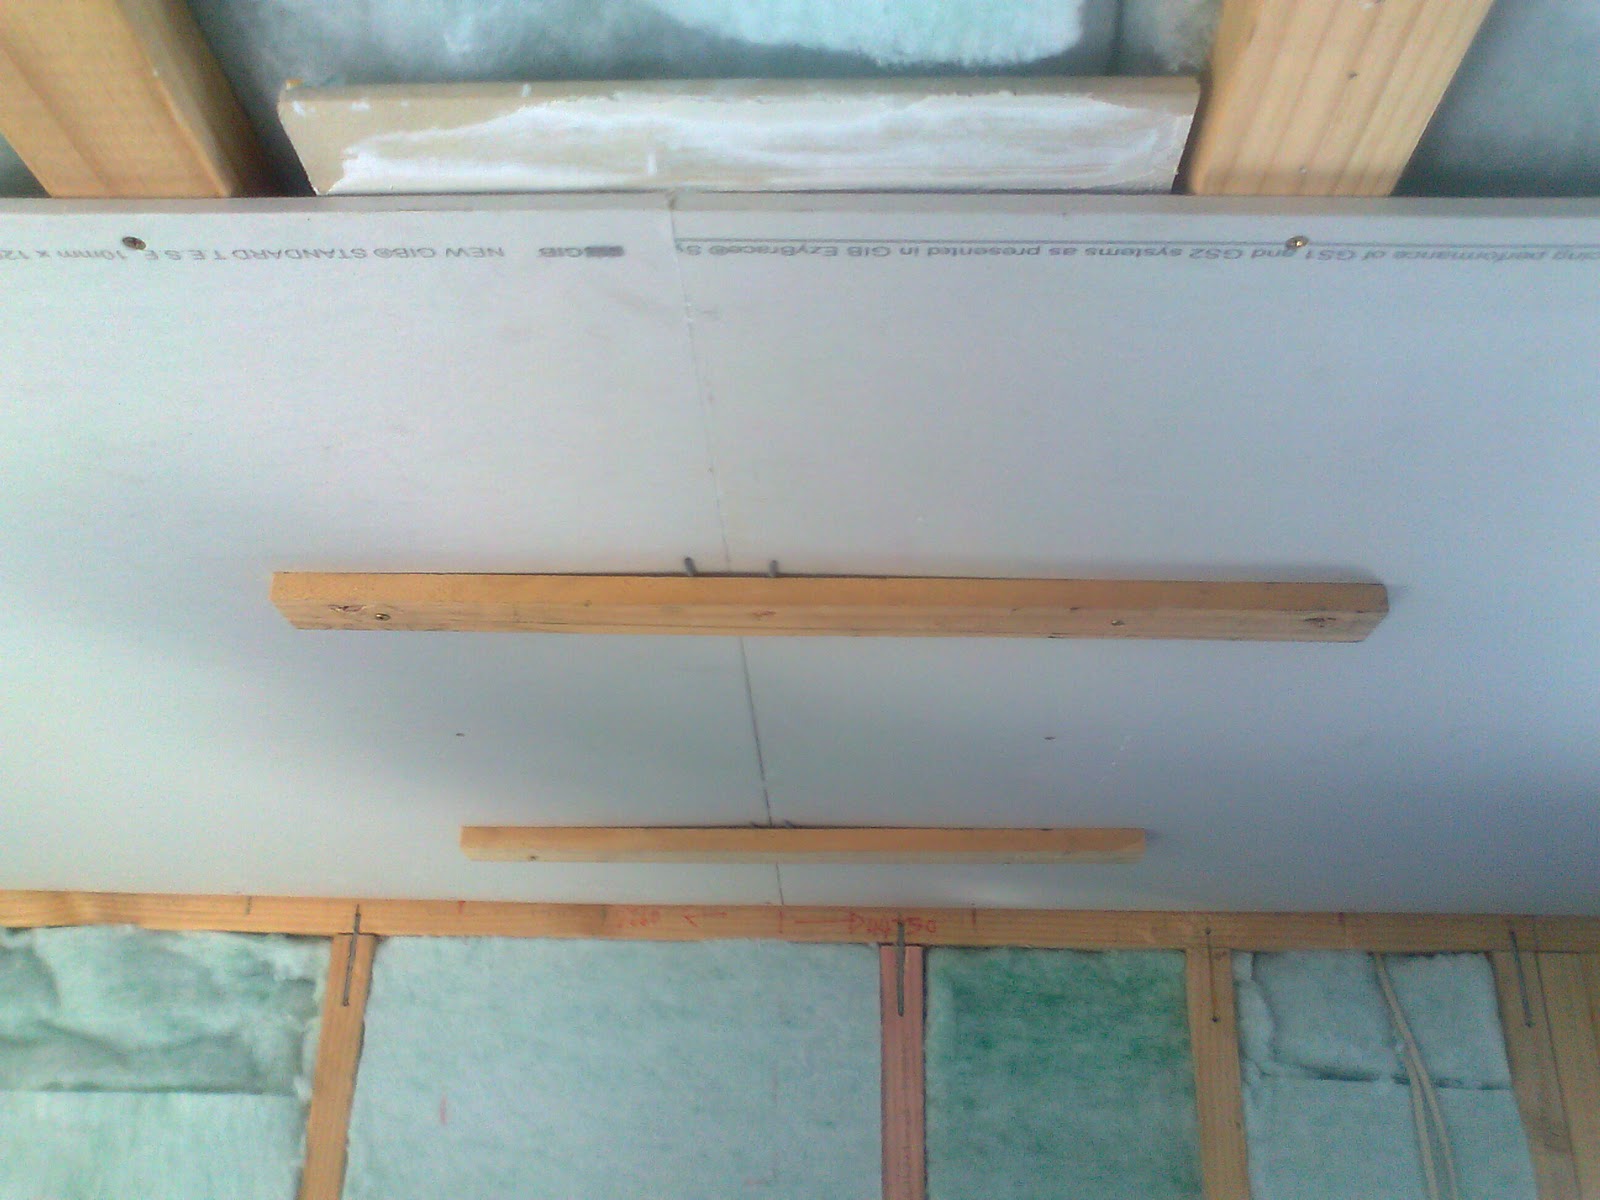
Back blocking is using these off cut pieces of gib, smoothing them with bonding putty on one side and slotting them between the ceiling battens. These are temporarily fixed with screws.


Where back blocking is done at a join at the end of lengths of sheets, a piece is cut, (to the width of the gib) and the ends are forced up by two sets of nails between the gib and temporary battens to force the sheets up so again the plasterer can put a flexi tape over the join and smooth over the two flat with no protrusions.
Where the sparky has installed the wiring, the holes need to be measured out for and cut.
Screw fixings are done every 300 around the perimeter and at every batten (400mm centres) at the joining edge and the centre.
A gluing pattern is worked out so screw fixings won’t be where gluing fixings are. Glue is ridged when dry and if there is movement in the house and a screw has been applied with glue the screw can snap the gib. We mark a piece of timber where we want the glue fixings on the ceiling battens.

Things to remember when walking around or over stacked gib, is not to stand on edges, not to walk over the face side of the gib. To have it well supported when moving it around.
Good post Andrew: a clear description of the processes, great to see you back on your blogspot-kept it up
ReplyDeleteThanks for sharing these ideas about using marble in interior design.ventilated facade systems
ReplyDeleteAustrian facade suppliers
glassfibre reinforced concrete
larch wood cladding
custom facade panels
weather-resistant materials
energy-efficient building envelopes
modern architectural surfaces
sustainable exterior finishes
local cladding manufacturers
Landscaping projects require products that can withstand local weather conditions, especially in hot regions. When comparing different options, I found that some products offer excellent UV resistance and durability. The Best weed barrier in gujarat best weed barrier in gujarat makes gardening easier by preventing unwanted growth and reducing manual labour. A strong weed mat also helps protect plant roots and maintain soil health.
ReplyDeleteGreat Information
ReplyDeletecladding
Wall cladding
stone cladding
bathroom cladding
bathroom Wall cladding
cladding corners
cladding company near me
cladding design
cladding exterior wall